Carving 101

Stance and turns tips from Jeremy jones

Turns are the brush strokes we paint the mountain with.

– Jeremy Jones

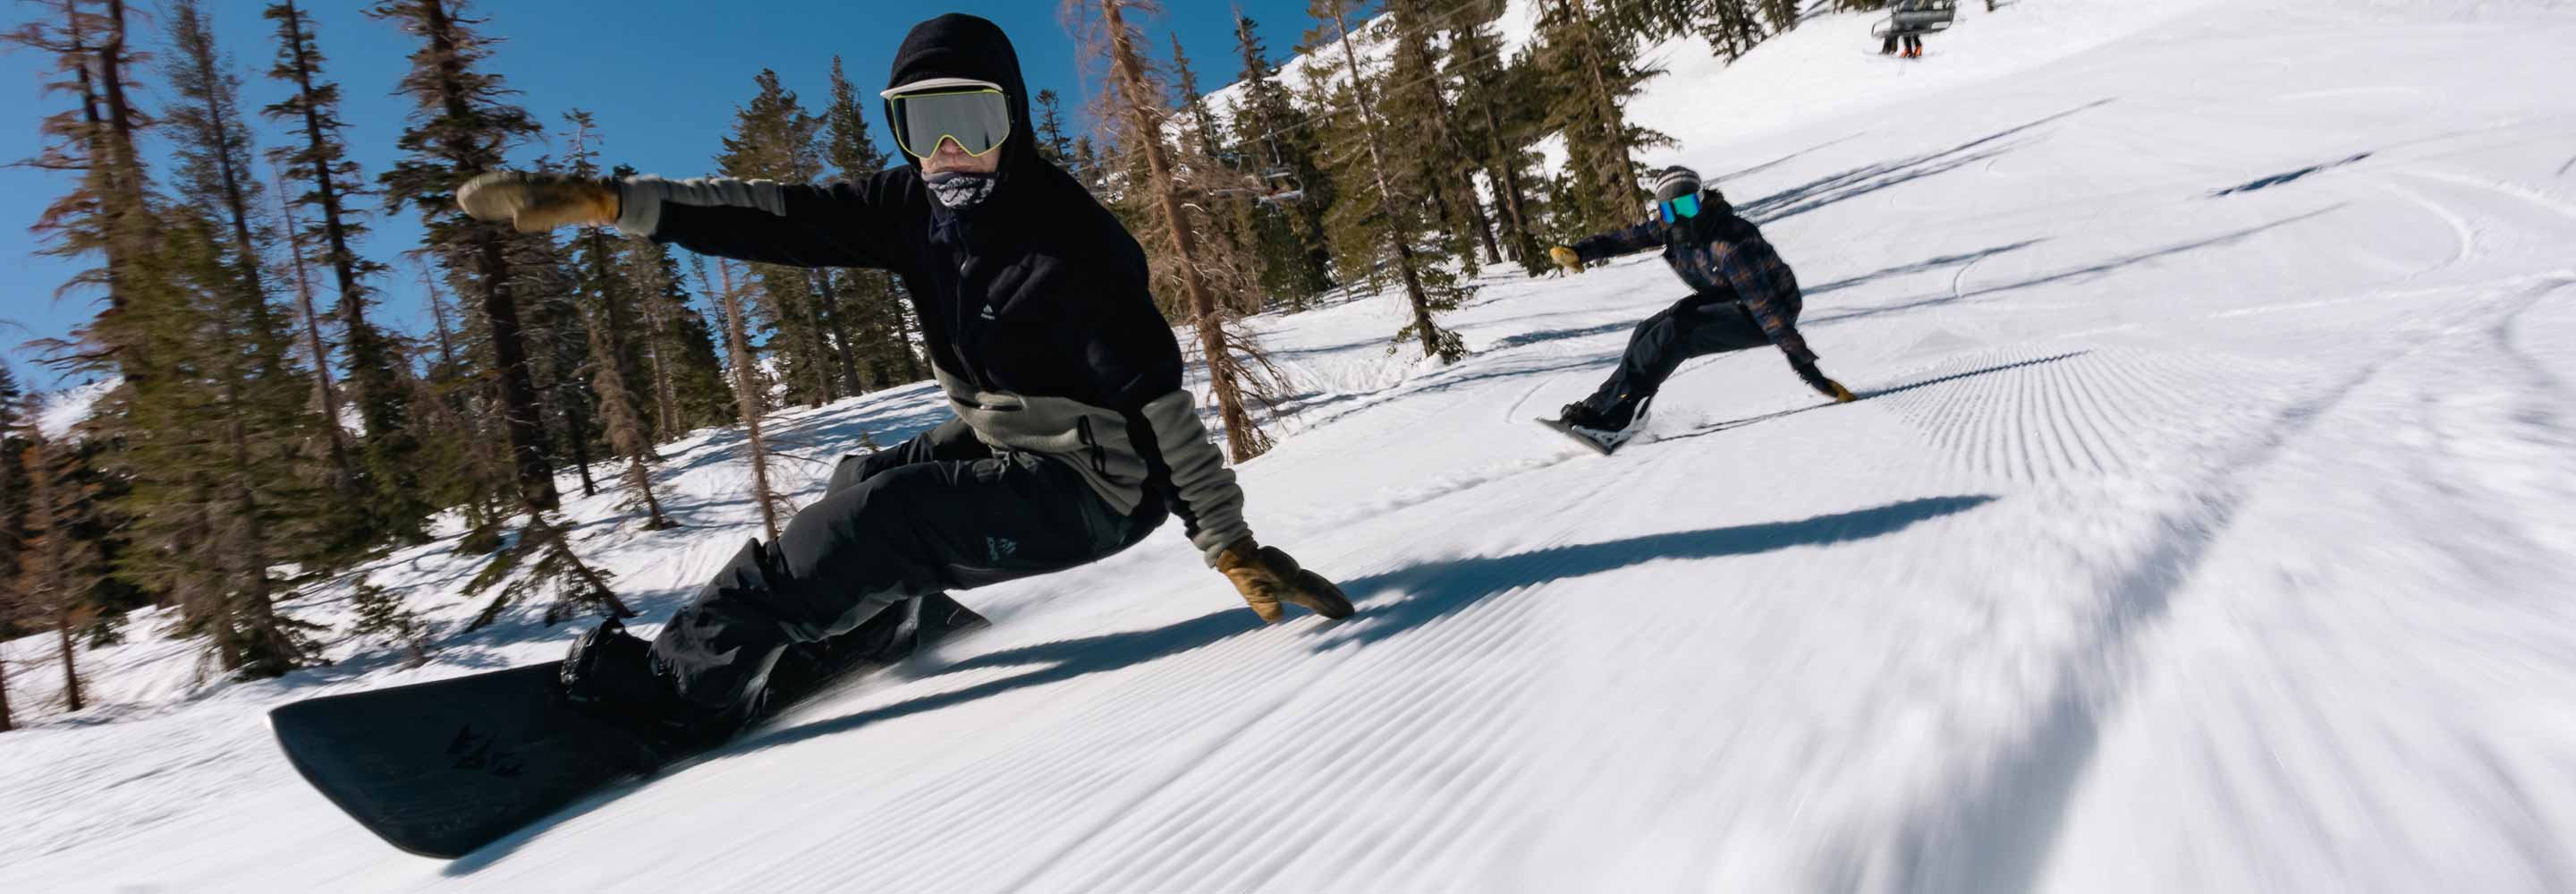
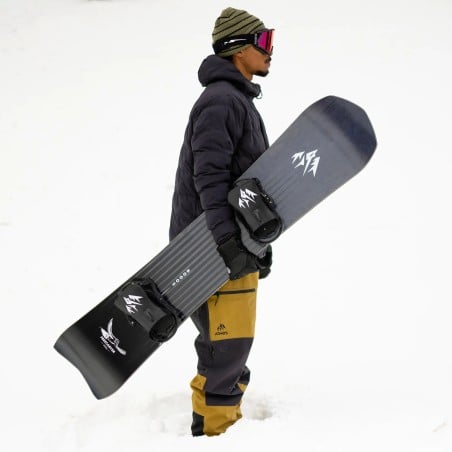
If you aspire to be a well rounded artist of the slopes it's important to know how to make many different types of turns depending on the terrain and the conditions. The canvas also changes by the day, or even the hour, so the better your turn game is, the more fun you’ll have as the snow conditions evolve.

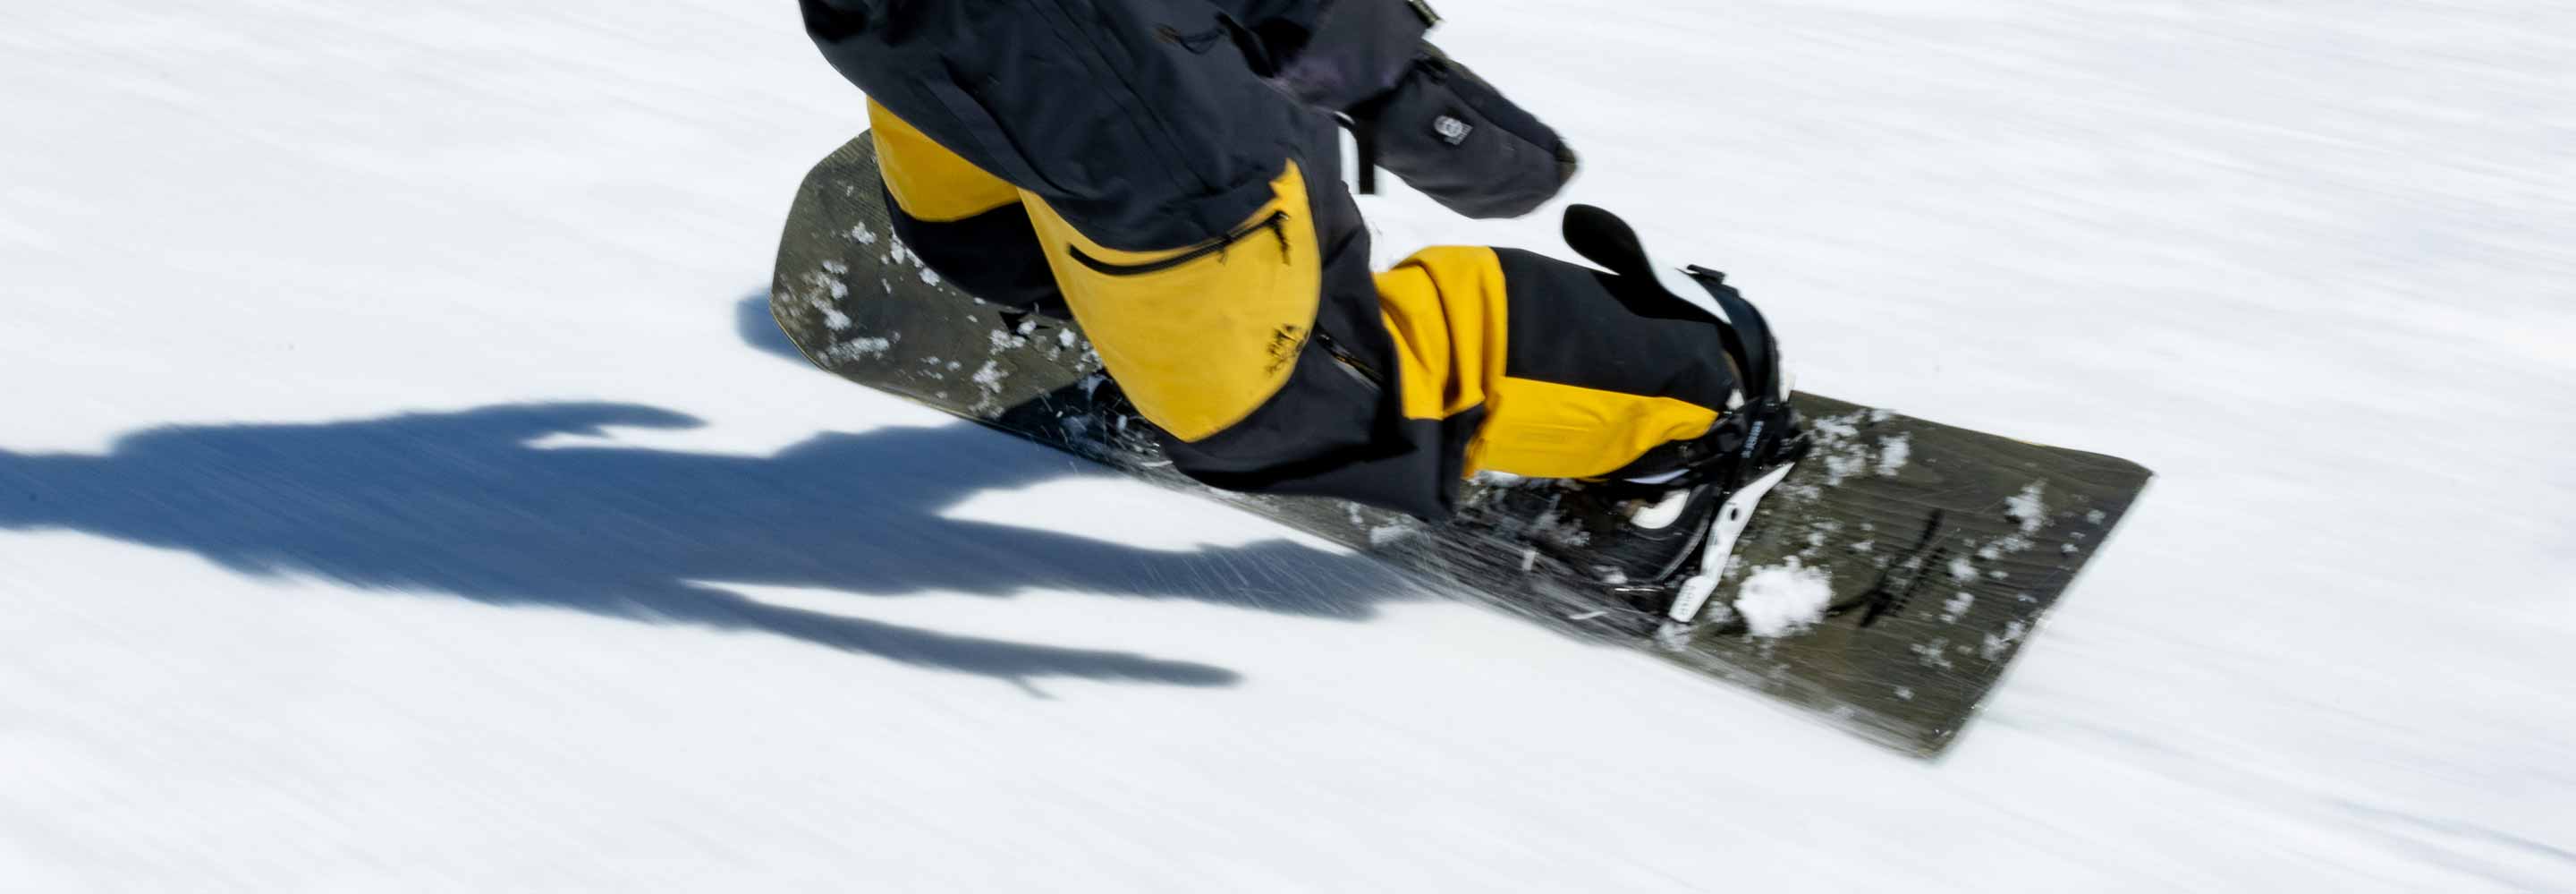
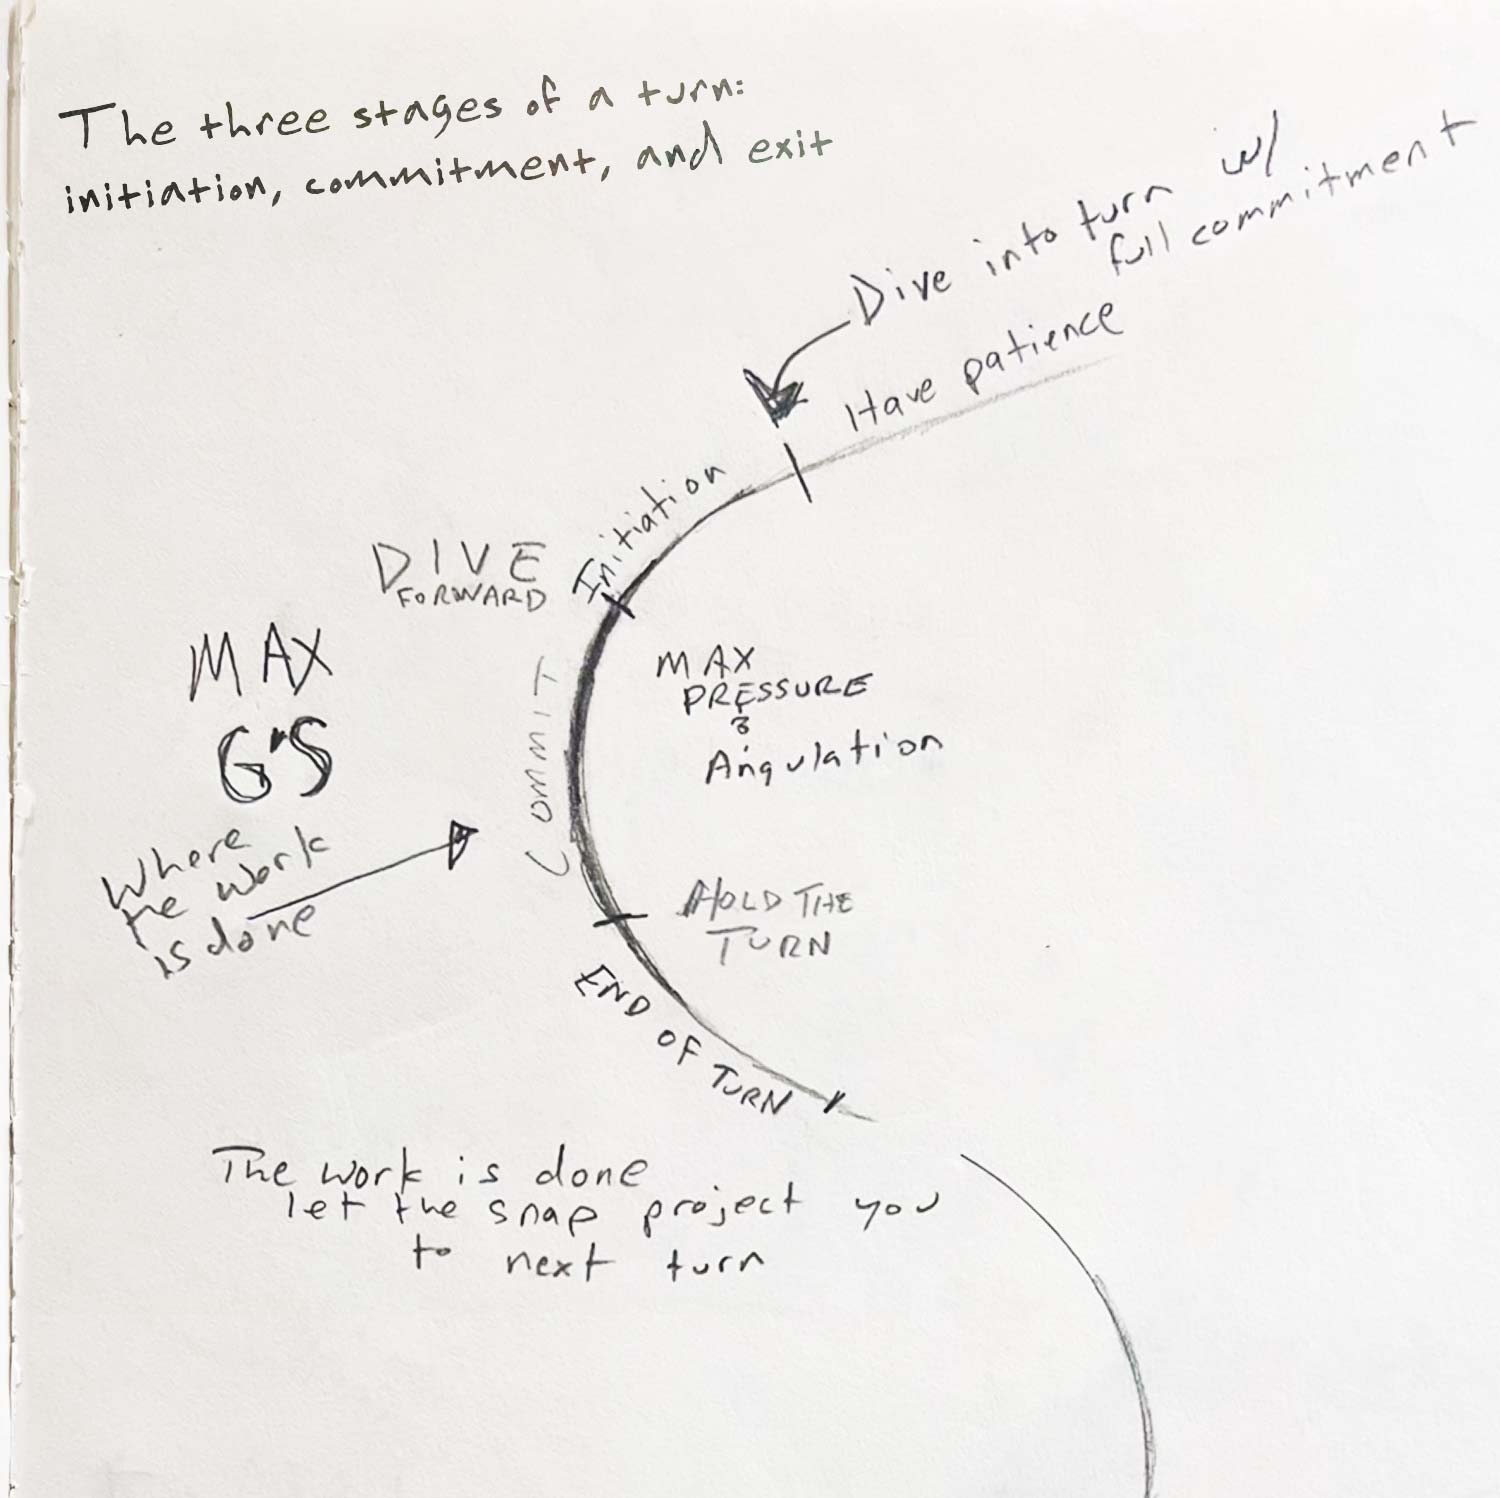
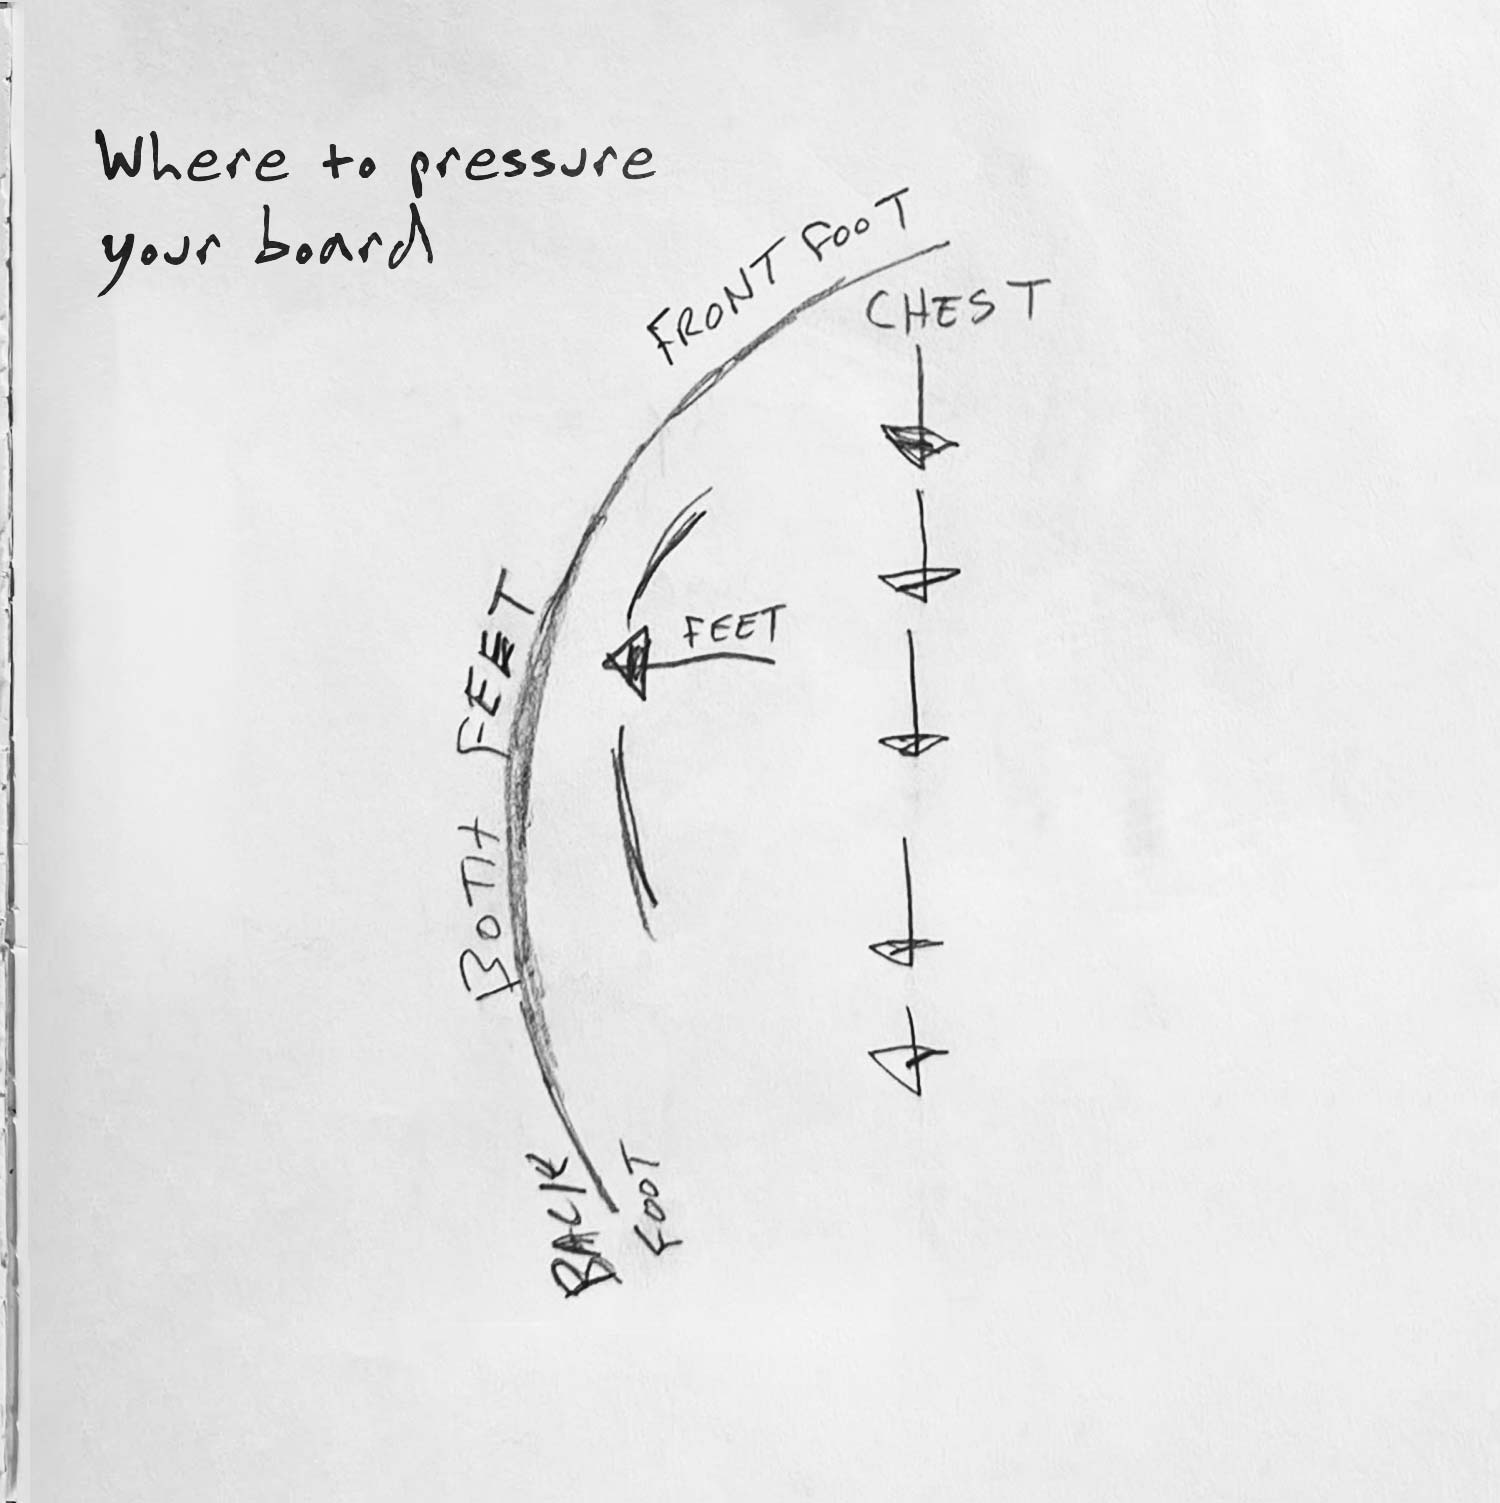
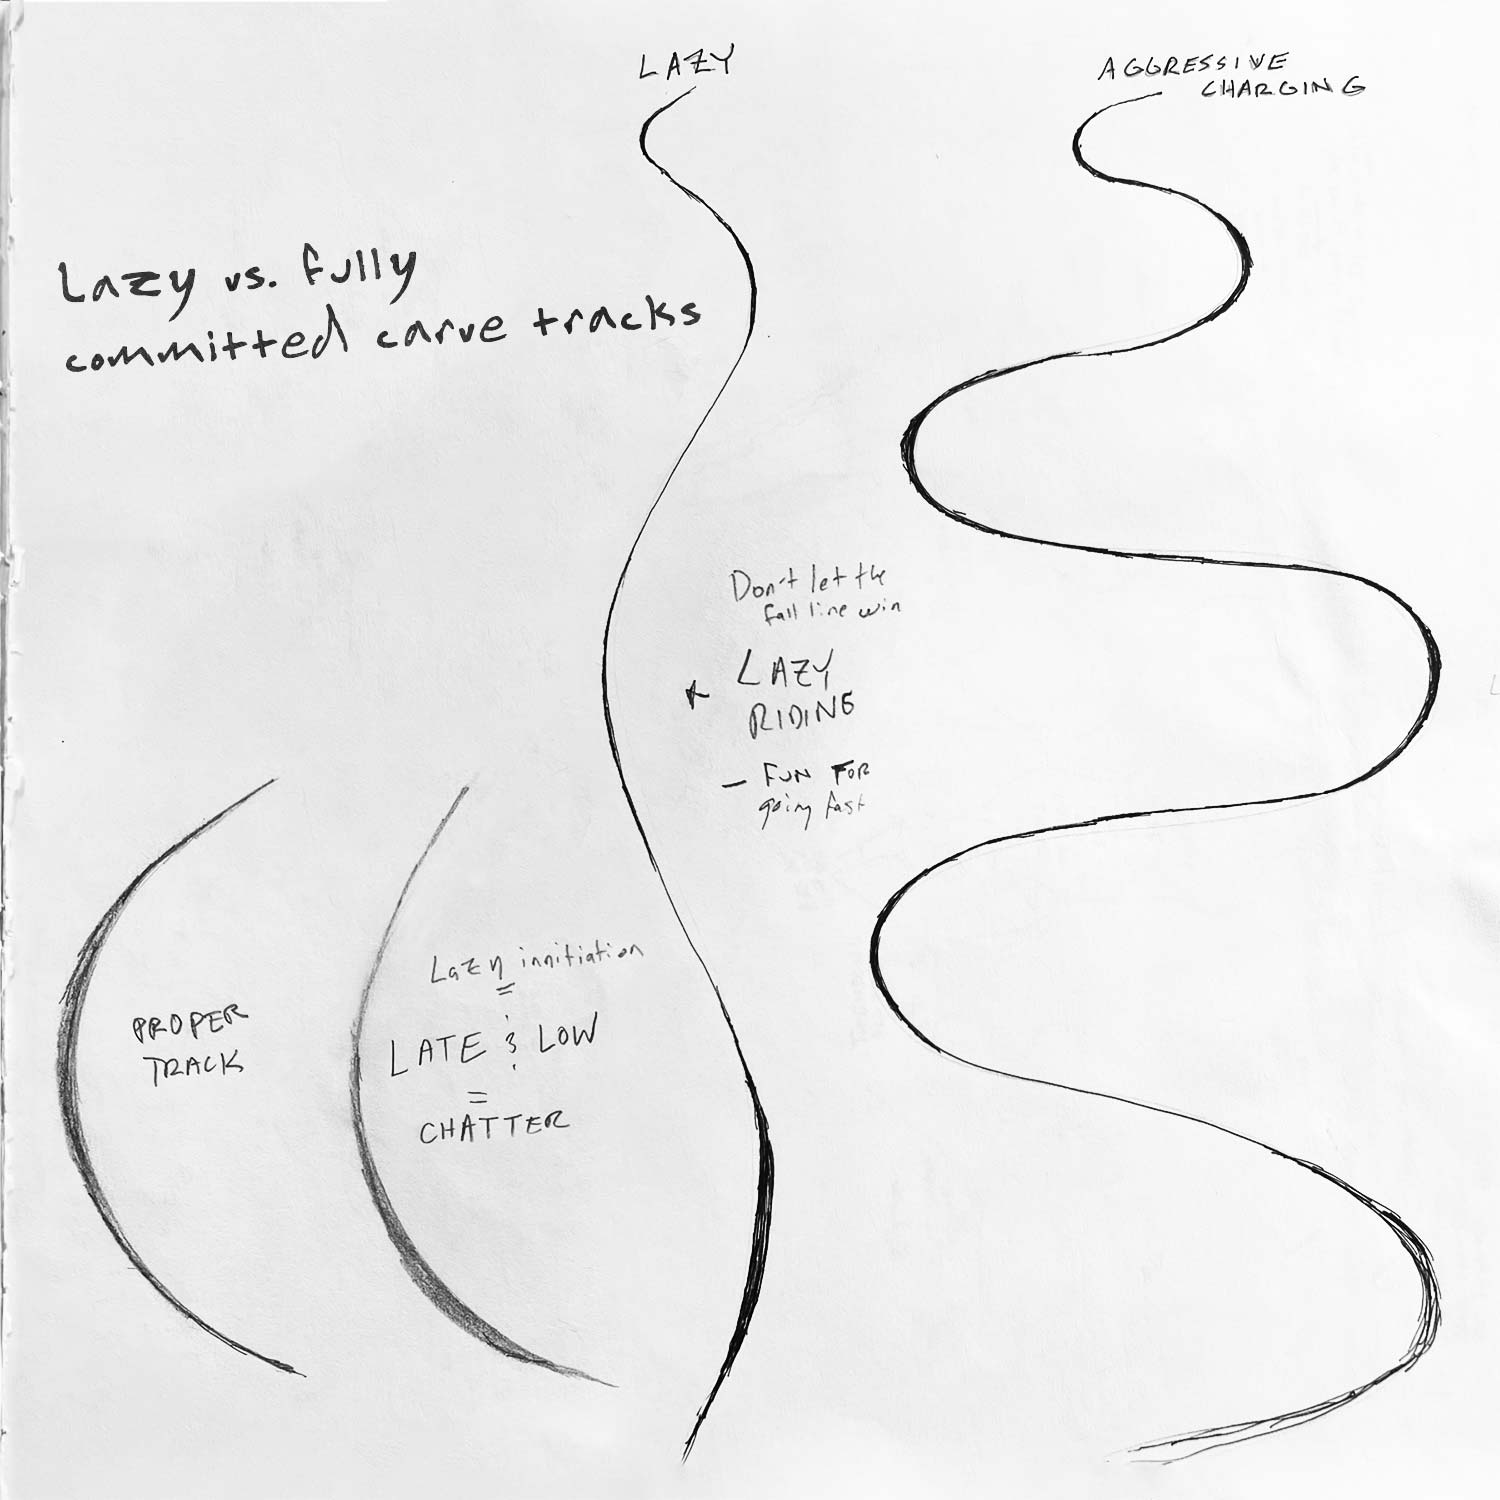
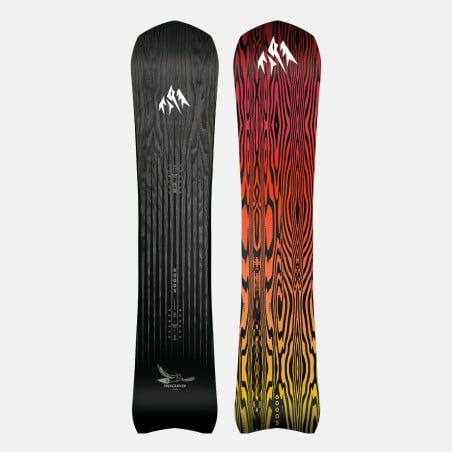
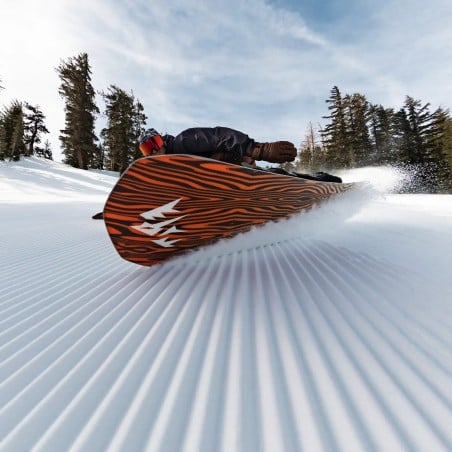
Knowing how to trench a deep carve on a fresh groomer is one of those turn skills that every rider should have. Because unlike deep powder days, groomer days are inevitable. Carving skills that you master on the groomers also translate to many other snow conditions. Once you understand how to properly turn on hardpack, your powder riding will improve, and you’ll ride faster and smoother through rough snow.

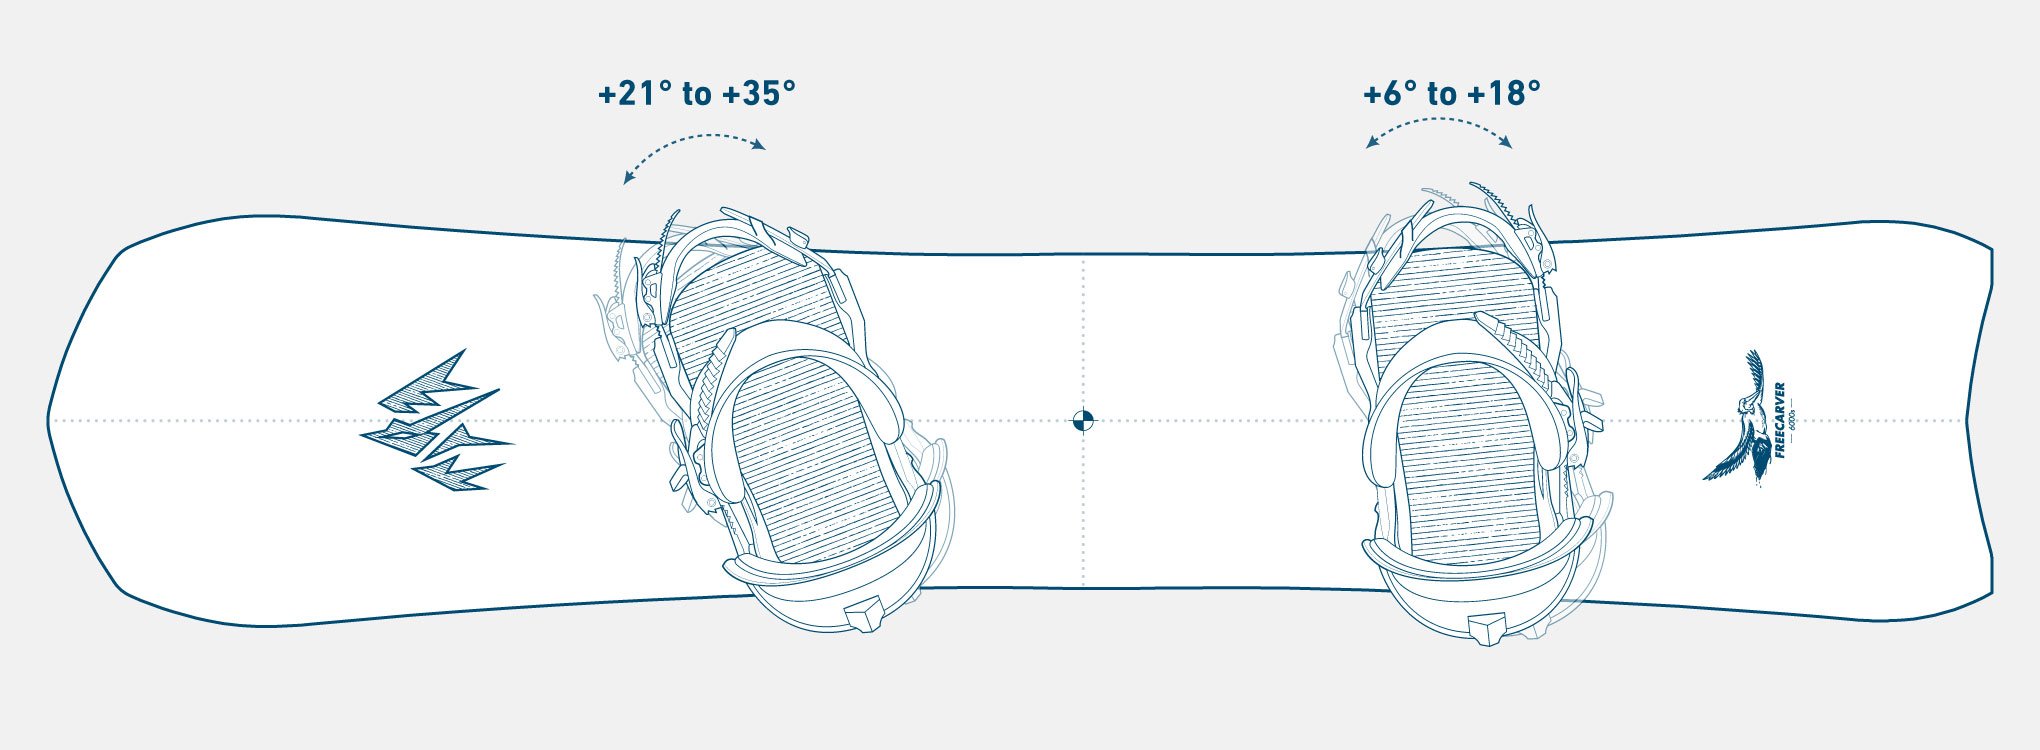
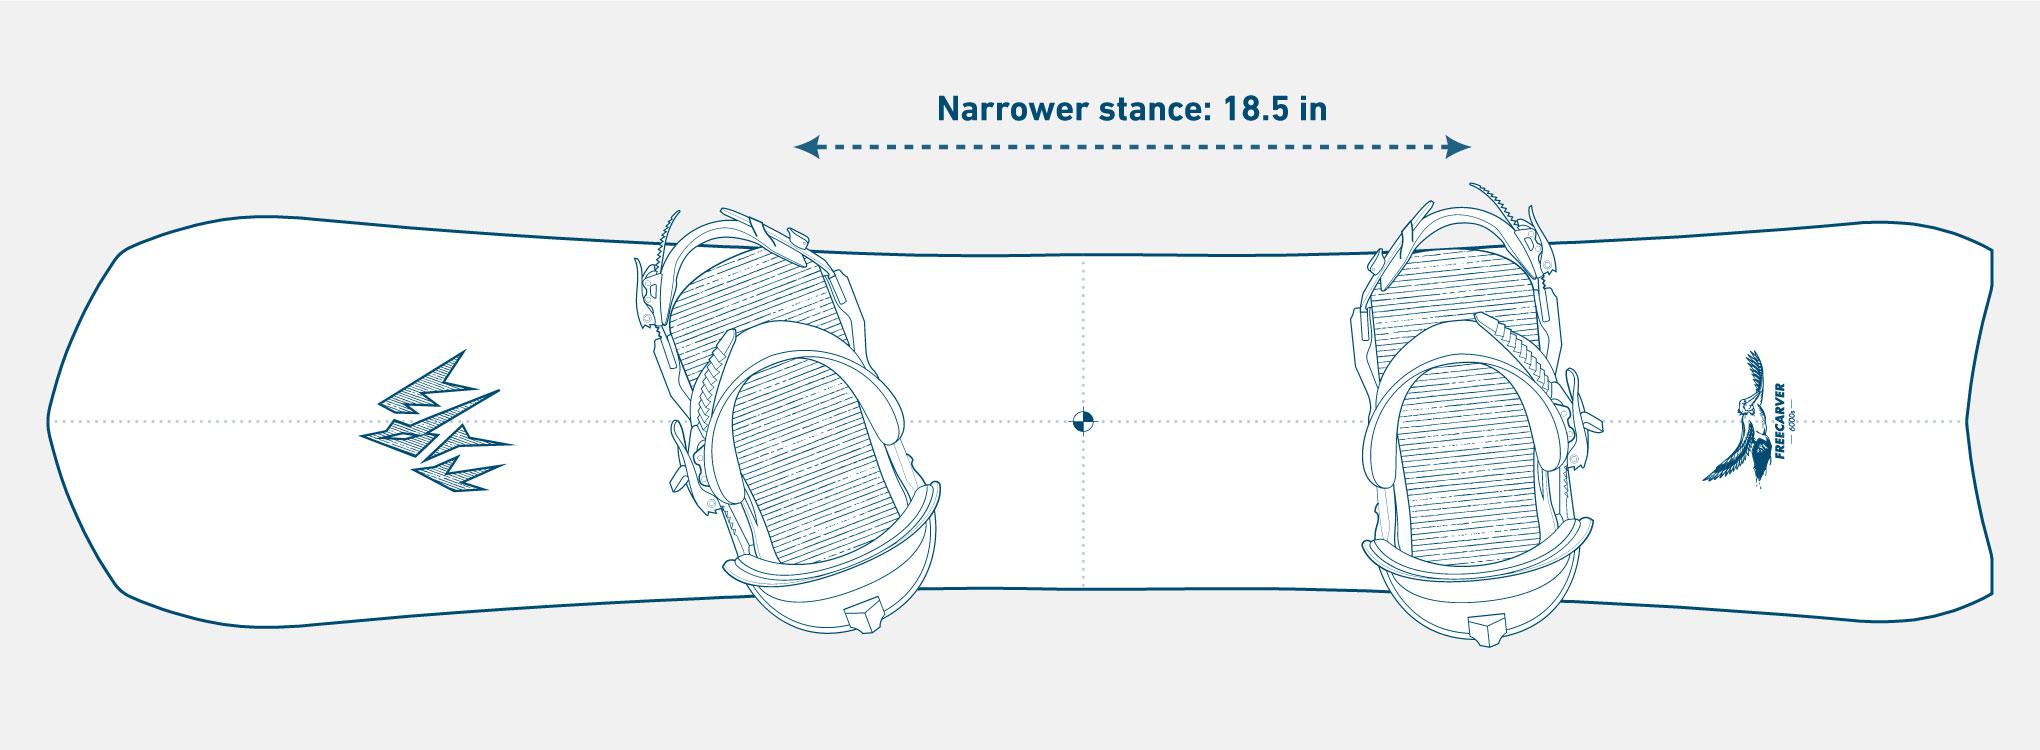
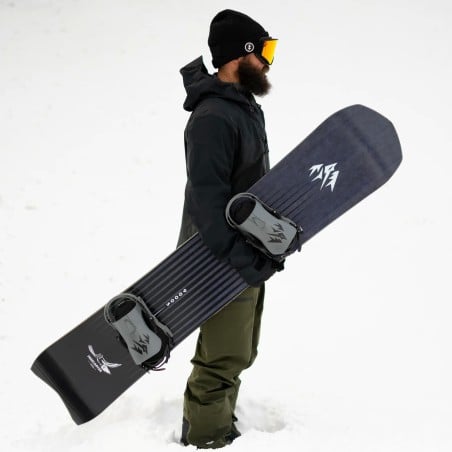
Learning how to carve won’t happen overnight, however. Prepare to put in some focused practice time, starting with a tune bench session to get your board set up with an ideal carving stance.

Stance tips for carving

Stance tips for carving

Stance angles

The best stance for carving is a positive-positive stance. What this means is that both bindings are angled forward toward the nose of the board. Alternatively, a positive-negative “duck” stance means your back binding is pointed toward the tail of the board.

Angling both of your bindings toward the nose of the board makes it much easier to make a proper carve turn. Front foot angle is especially important as it allows you to turn your shoulders and square-up to the fall line on heel turns. Here are the angle ranges recommended by Jeremy Jones for carving:

The #1 carving stance mistake that I see snowboarders make is not enough front foot angle.

Jeremy Jones

Jeremy Jones

Start on the low side of the angle ranges and increase the amount as it begins to feel more comfortable. The first couple runs will undoubtedly feel awkward when you switch to a new stance. Give it time and watch how your body responds. When you start laying down the deepest turns of your life you’ll forget all about how the stance feels.

Stance width

Stance width is also an important variable to consider. Wider stances are more stable while narrower stances are faster edge-to-edge. If you are riding a relatively short board with a relatively short 6-7 meter sidecut, go with a narrower stance. If you are riding a bigger board with a relatively long sidecut step up to a wider stance. For example, Jeremy Jones rides an 18.5 inch stance on a Freecarver 6000s 154 and a 20.5 inch stance on a Freecarver 9000s 160.

Learn more about how to find your stance here.

jeremy jones is 5’8” (1.73m) tall and weighs 150lbs (68kg)

When and where to practice

When and where to practice

Once you have your board set up it’s time to find a good time and place to practice. Ideal conditions for practicing carving are edgeable and smooth corduroy on a run that’s not too steep. You’ll also want plenty of space to cut side-to-side, so either choose a run that doesn’t get much traffic, or practice at a time that’s not busy.

Try to get on the mountain early so you can practice your turns right under the lift. Check out what kind of track you’re leaving behind on the way back up. Your track will tell you a ton about the strengths and weaknesses of your turn.

Jeremy Jones

Jeremy Jones

What to practice

What to practice

Before you drop in for a practice run, look behind you and make sure no one is about to drop in right after you. Ample time and space will allow you to cut across an entire run, and potentially even slide out on a turn without getting plowed into. Once you got the real estate, here’s what to practice.

Jeremy Jones' hand drawn carving tips

  • Initiate your first turn by rolling on to your edge with all your weight on your front foot and fully committed to the fall line.
  • Keep your chest forward and rotate your shoulders such that your upper body is always square to the fall line. For toe turns you’ll rotate your shoulders opposite the direction you’re moving, and for heel turns you’ll rotate toward the direction you’re moving.
  • As your board comes around into the turn, push your weight into both feet while bending in the knees and ankles.
  • The apex of the turn is where you want to apply the most edge pressure and have the most edge angle. The lower you can bend in your knees and ankles without folding at the waist, the more you can increase your edge angle and sink deeper into the carve without washing out
  • If your board feels chattery at the apex of your turn, press harder into both feet and/or increase your binding angles.
  • Exiting the turn your weight should shift slightly to your back foot. Let the board lock into your edge and hold your line moving across the slope.
  • Be patient and ride your edge for a second or two before diving into your next turn fully committed.

Don’t be lazy! Carving demands committed initiation and focused follow through.

Jeremy Jones

Jeremy Jones

Master these techniques and you’ll be ready to lay a trench on runs of any pitch. From there you can step up to carving turns on specific terrain features like rollers or natural waves. Just like a painting, the lines you can draw on a mountain are endless with the right amount of inspiration, imagination and skills.

Shop the collection